Human eyesight is mostly amazing. We see a rainbow of colors, focus quickly between near and far, possess reasonable peripheral vision and generally have a good sense of where we are, how we’re moving and what obstacles confront us. What we lack, in compensation, is the ability to resolve fine detail at even relatively short distances. Birding is about nothing if not “fine detail,” so we need help — which is where the marvel of binoculars enters the picture. Binos (“bye-nose”) bring us closer. They also collect more light, which allows us to see into shadow and foliage, and to find and distinguish the characteristics that A) define a given species and B) comprise the beauty and personalities of our favorite critters.
If you’re thinking about becoming a birder — and you should — you will need a pair of binoculars. If you come on a bird walk without them (and haven’t contacted us for a loaner pair in advance) you will have a nice stroll and not much more, while others are having all the fun.
The commitment of spending some hard-earned cash on equipment is a good way get your birding career off to a start. A decent pair of beginner’s binos will set you back $200-$300. Spend less and you’ll be frustrated with poor focusing mechanisms, annoying distortions and an investment that breaks easily. In the $600 range, you’ll get pretty much everything you’ll ever need – though devoted birders spend multiples of that amount for sophisticated instruments that are mostly modest improvements on the basic item. More expensive glasses are also likely to be a bit lighter for the equivalent optical benefits, but if you’re a beginner you’re probably young and strong, so don’t spend a lot of money to save an ounce or two. Rule of thumb: Start cheap – if you become a real birder, you will find the money to upgrade even if it means going without food.
When shopping for binos, you’ll encounter two numbers that are always visible, usually printed on the focus wheel: a small number, an “x” and a larger number. So, “8×32” or “10×42” or variations on that theme. The first number is the magnification, the second number is the diameter of the front glass that collects light. The normal first thought is, “The more magnification, the better, right?” But not so. Every added bit of magnification narrows the cone of vision that beams out from the front on the binos. Yes, you’ll see greater detail, but you’ll have a hard time finding birds in a smaller target circle. Also, the more the magnification, the steadier the image needs to be, which is why high-power spotting scopes are always mounted on tripods. It’s simply difficult-to-impossible to hold still enough to get a good image at high magnification. Most birders prefer binoculars with an 8x magnification – a good compromise between seeing a lot and being able to find what you want to see. Birders who have developed advanced birdy-sense will often opt for 10x magnification because they’ve simply gotten better at finding stuff.
The second, larger number tells you how much light can be gathered by a given pair of binos. That piece of glass is a lot bigger than your eye, so it grabs and focuses much more information than you can pull in on your own. This is a case where “larger is better” except for the weight consideration. Over 42mm, binos start to get heavy. Again, some birders will make the compromise, but certainly as a beginner you don’t need to. 8×32 is a great start and if you’re comfortable with 8×42, you’ll feel like you have Superman eyes.
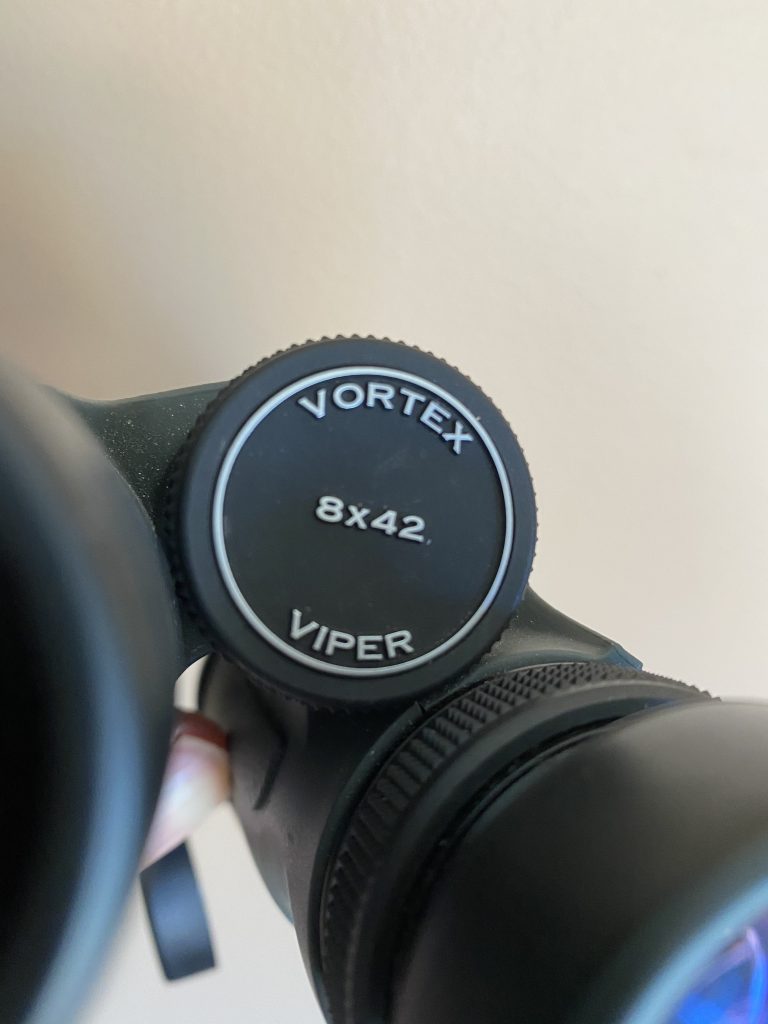
The numbers 
Eyecups out 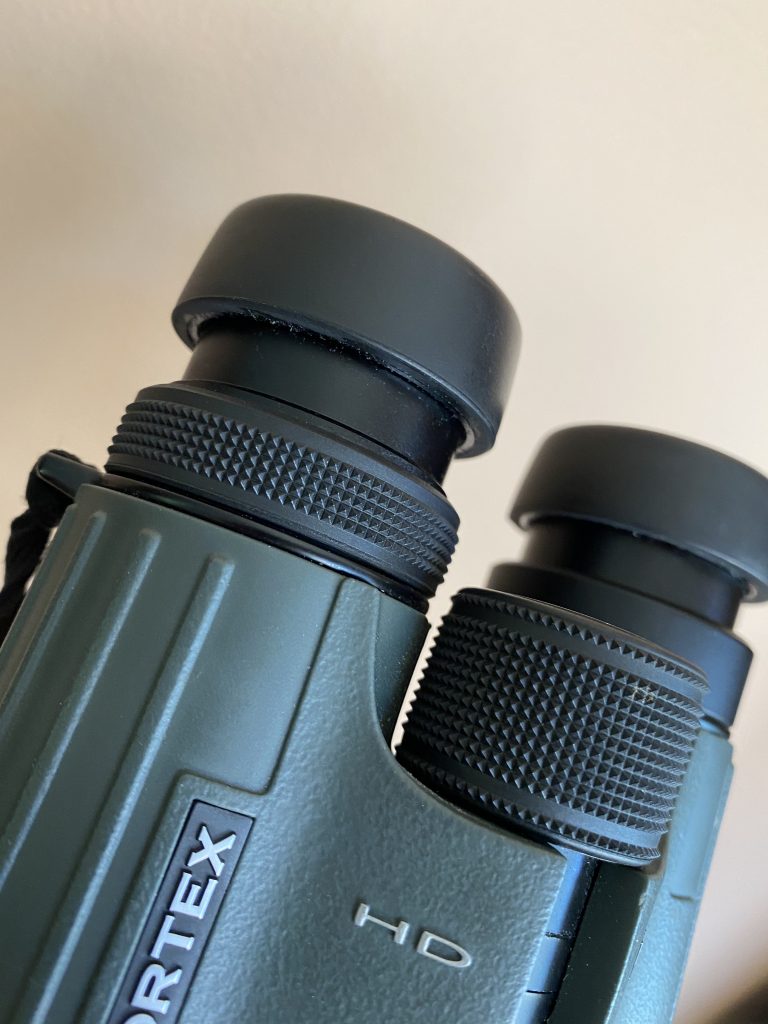
Diopter adjustment
Most decent-to-good binoculars feature a “diopter” adjustment. One of the eyepieces will have a separate focus function that you can “set” to compensate for slight differences between the vision in your two eyes. To set the diopter, which is usually on the right eyepiece, you cover the right-front lens with a lens cap or your hand, then focus the left eye on a middle-distance fixed object until it’s as clear and sharp as possible — being sure to keep both eyes open the whole time. Then switch the cover to the other side, leaving the right side open and if this “diopter” eye is slightly out of focus, turn the diopter ring —- not the focus ring — to bring that eye into sharp focus. Now, when you look with both eyes, everything should be sharp. There should be a way to lock that adjustment in place. This is a one-time adjustment, but if you lend out your glasses and get them back seeming “off,” first check the diopter. It’s easy to get upset with your binoculars, when the only problem is the diopter setting has slipped or been changed.
There are almost always eye cups that can be adjusted for the wearing of glasses. If you don’t wear glasses when you birdwatch, you’ll adjust those cups outward to create some setback for your eyes from the eyepiece glass. If you’re going to wear glasses, they will create that setback for you and you’ll want to adjust the eyecups flat to the glass or as far “inward” as they’ll go.
A couple of tips: don’t go for zoom binoculars, binoculars with built-in cameras or image-stabilized binoculars. (If you already have these, bring them along, they work but most multi-purpose gadgets are not very good at either function). Also, when trying out binoculars, make sure they focus well up close. A good pair should be able to ramp down to five or six feet away.
Okay, so no one walks around with their binoculars up at their eyes – that’s a formula for self-harm. When looking for birds, you peer into trees, under bushes and up into the sky with the naked eye, looking for movement. When you think you’ve got a bird, fix your gaze on it then without looking away, raise the binos promptly to your eyes. This is the tried-and-true method for nabbing that bird before it moves on: don’t look away. Try it a few times; it may feel awkward at first, but you’ll quickly realize that your eyes, hands and the glasses work well together. Especially when a bird is in flight or moving around rapidly, you may have to take the binos down a little, relocate your quarry and bring them up again. It’s a quickly-learned skill, so don’t get frustrated. And keep in mind that if you are on a birdwalk with other birders, anyone will be glad to give you tips and advice on how best to use your binos.
That’s about it. If you’re interested in a deeper dive into the science and tech of binoculars, plus a list of all manufacturers, Wikipedia has an excellent article here.
Author’s choice for a very good, inexpensive pair of binos: Vortex Diamondback HD 8×42, around $220 or less.